Note: The following topic is for Premium Mobile administrators.
To configure General Settings for this Premium Mobile instance, perform the following steps:
1. From the Organize tab in your Tool Bar, click Client Settings.
2. In the Client Settings menu, click the General Settings link.
3. In the General Settings area:
a. Add or edit your information using the radio buttons, drop-down lists, and text boxes.
b. To change the product name from Premium Mobile, update the Client Banner Title.
c. If the Use enhanced filtering for Departments property is set to Yes, advanced search widget is displayed instead of regular Department drop-down list, through out the application.

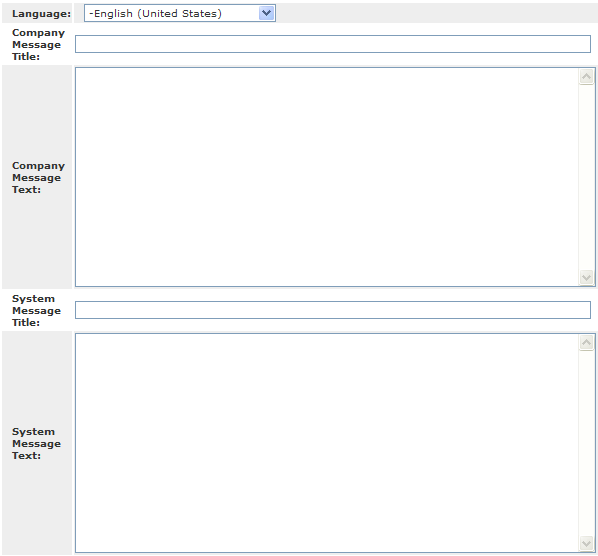
d. To add Company Messages to the Home page, click the Edit link to open the Client Home Page Messages screen. Select the display Language from the drop-down list, enter company and/or system message titles, enter your company and/or system messages, and click the Save button.

e. To administer Employee User Agreement information, click the Edit link to open the Wireless Policy Review & Acceptance Settings screen. Select the display Language from the drop-down list, use the tools to configure wireless policy and acceptance, and click the Save button.
f. Do one of the following to display contact information in the footer across the application:
1. Set Contact URL Enabled field to Yes.
The Contact URL and Contact Description fields are enabled.
2. In the Contact URL and Contact Description fields, enter relevant information.
Or,
1. Set Contact URL Enabled field to No.
The Contact for Support field is enabled.
2. In the Contact for Support field, specify a valid email address.
h. Set Home Page Currency Selector Enabled to Yes if you want to display Currency Selector drop down on the report widget (Home Page).
i. Set Remove Mangling Character from All Exports to Yes, if you do not want to include space after each value in the CSV or Excel export file. By default, this option is set to No.
You can export records in CSV format from Employee, Service, Asset, Carrier
account charges, Cost Analyzer, Analyze Department, Cost Controller>Activity
Details, Cost Controller>Call Details, Analyze> Activity Investigator,
User Account Charges, Company Device Catalog, Company Plan Catalog, Fulfilment
policies pages.
j. Set Excel Export Limit Enabled to 'Yes' if you want to configure the number of records exported in to Excel.
The Excel Export Limit field is enabled.
h. In the Excel Export Limit field, specify the number of records that users can export directly into Excel. For example, if you specify 10000, users can export up to 10000 records.
Note: Ensure that the Excel export limit is greater than 1000 but less than 1000000.
i. Click Save.